
4 Ingredient Strawberry Chia Jam
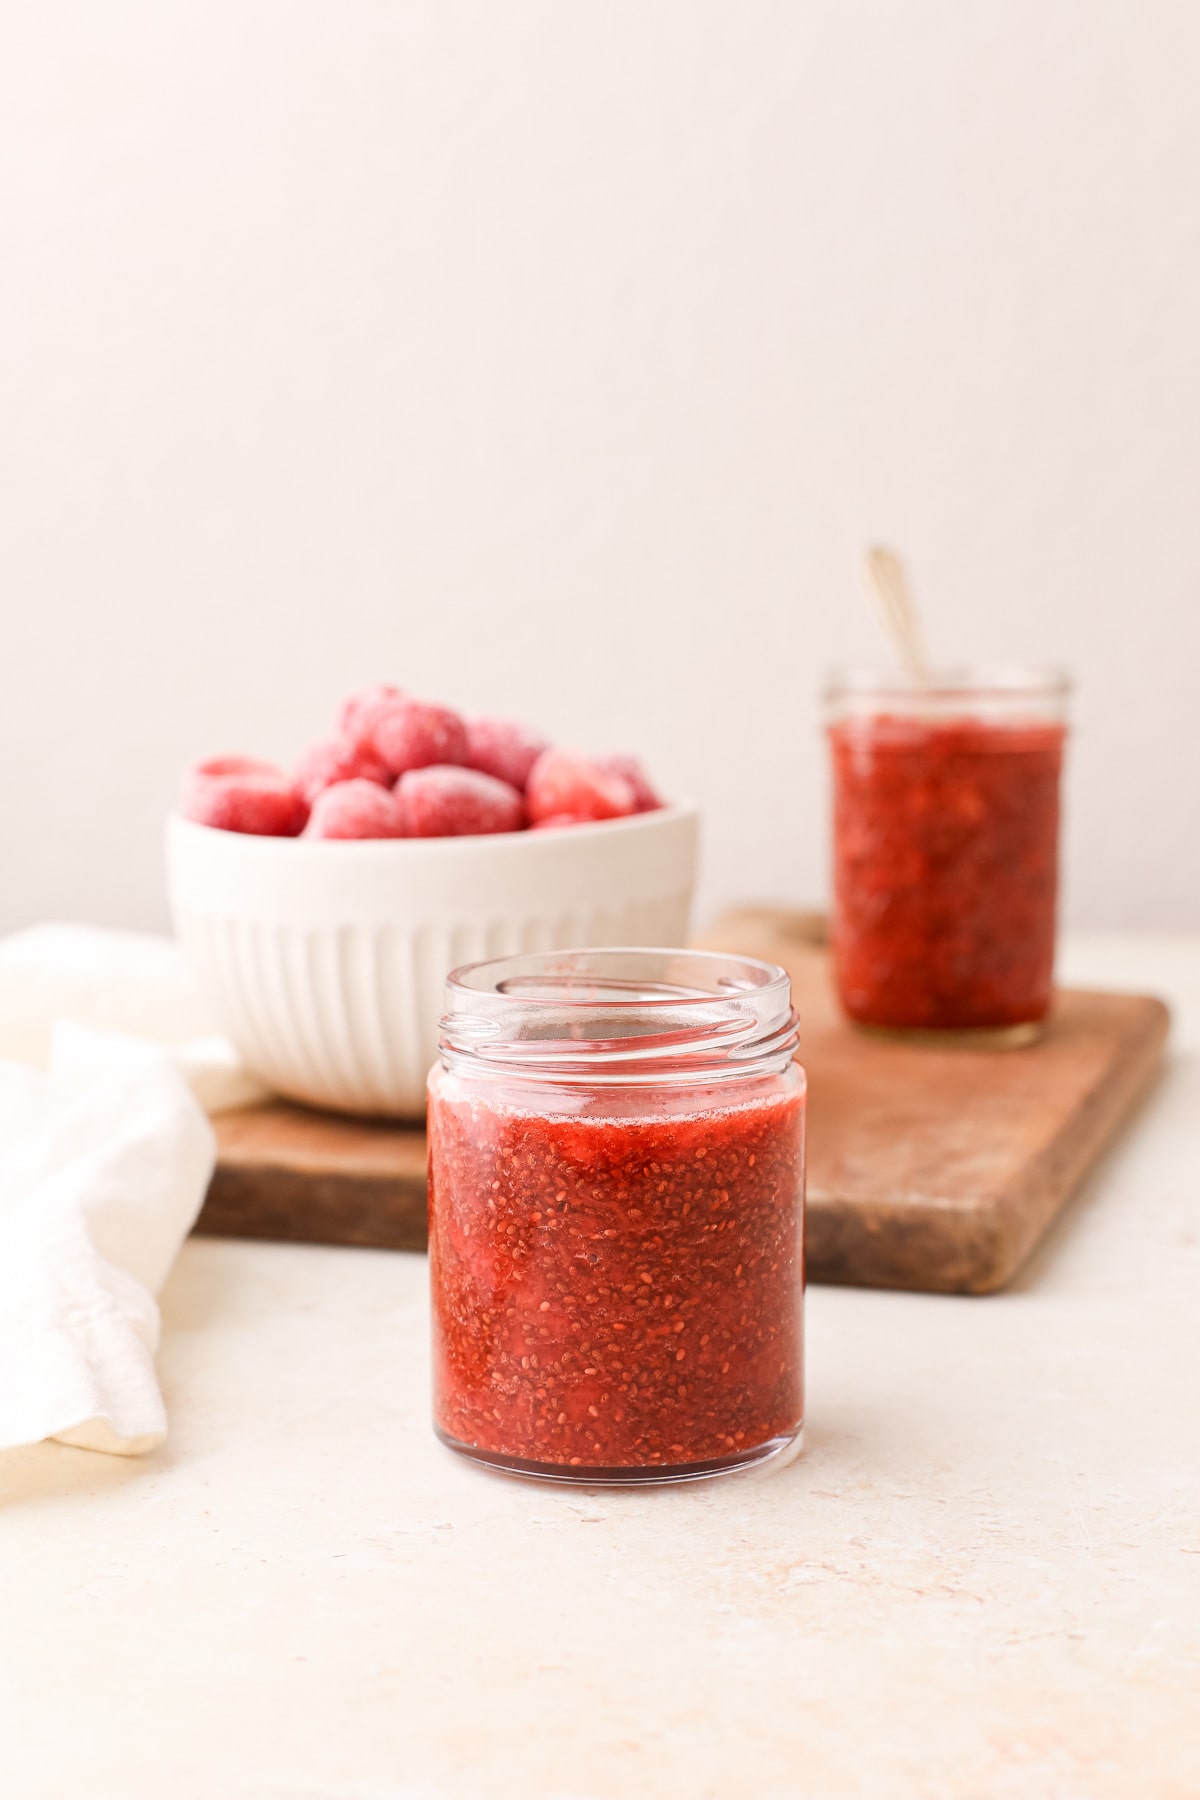
Strawberry chia jam is the easiest way to make your own homemade jam. It comes together in minutes, you can use frozen or fresh berries depending on the season, and there’s no canning required.
Looking for more strawberry recipes? Try my strawberry simple syrup, strawberry apple crumble, or strawberry compote.

What You’ll Love About This Recipe
Ingredients
Here’s what you’ll need to make this delicious strawberry jam:
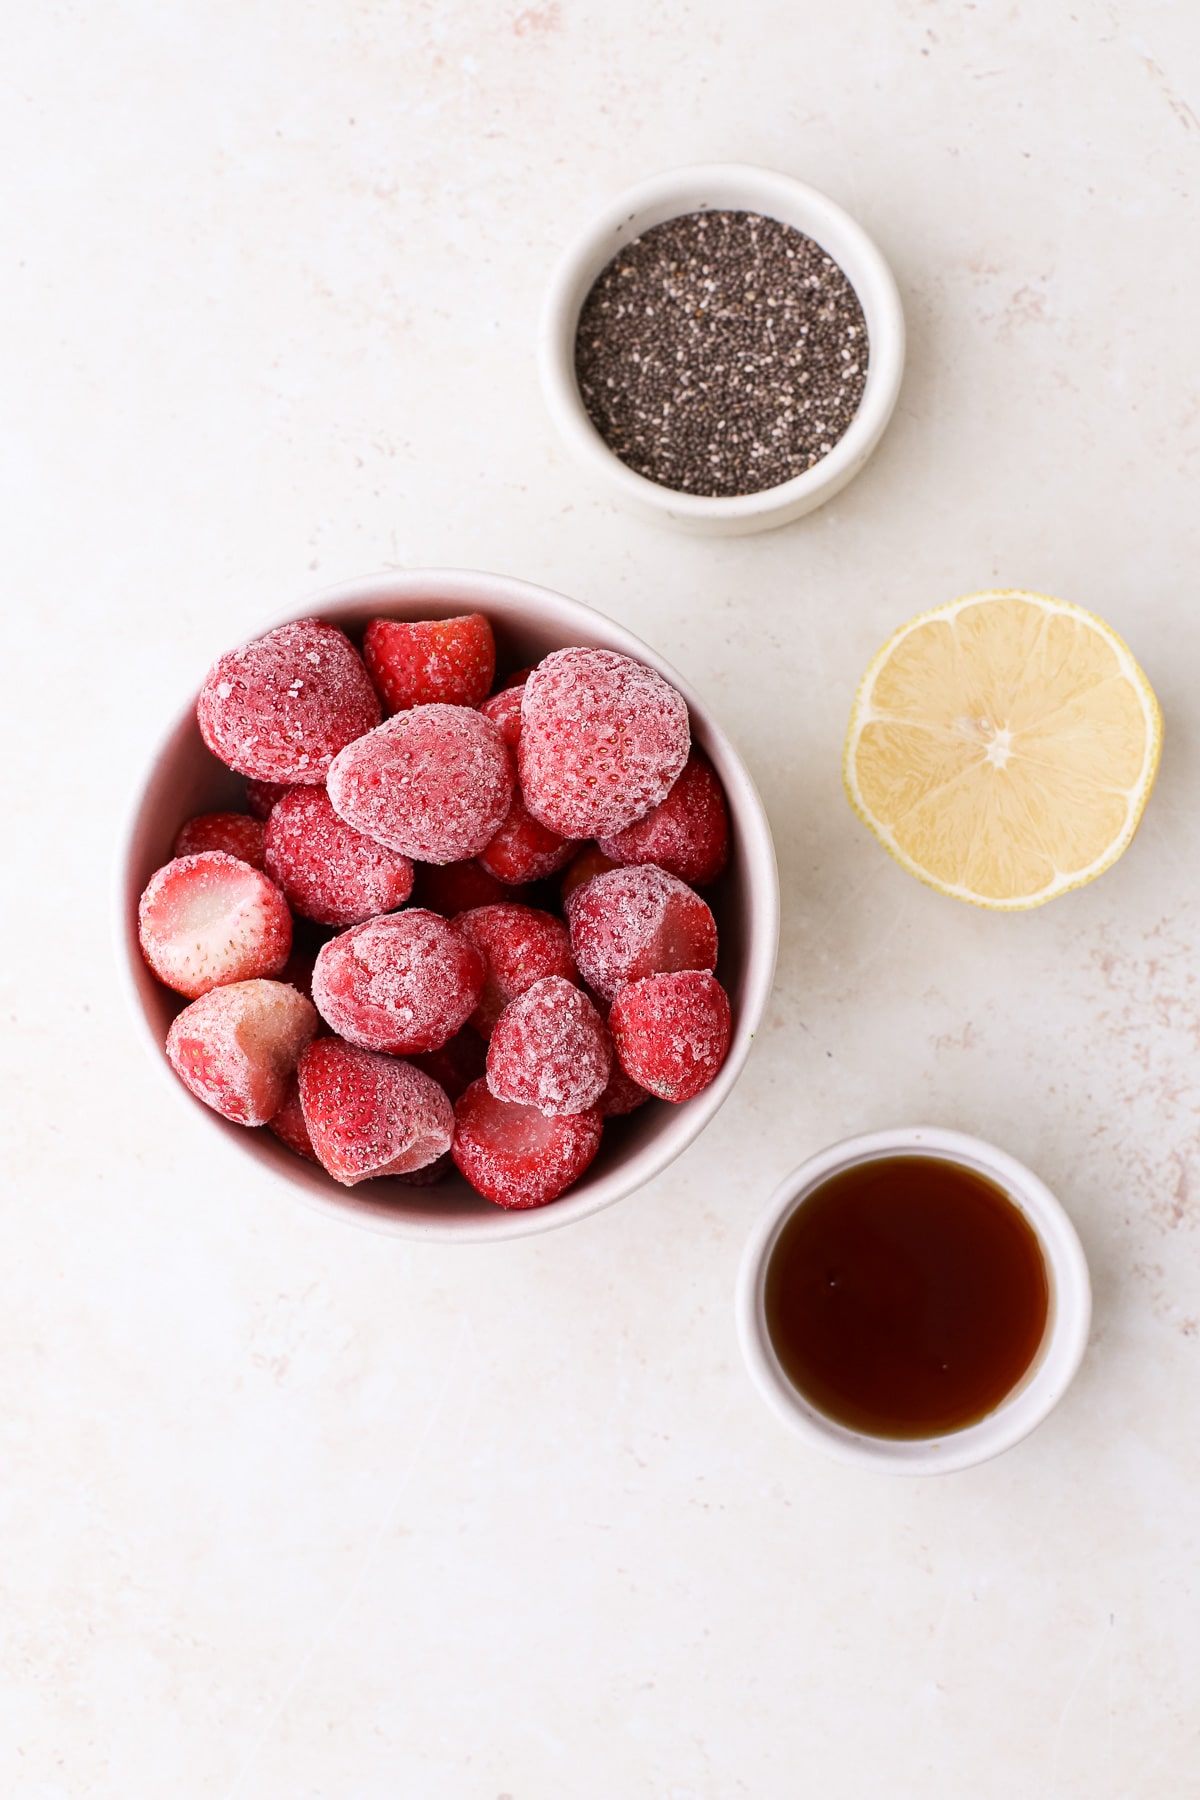
- Frozen or fresh fruit – what you use will greatly depend on what season it is at the time you’re making this recipe. If strawberries aren’t in season, I highly recommend using frozen berries. If it’s strawberry season where you live, use fresh strawberries.
- Fresh lemon juice
- Pure maple syrup
- Chia seeds – give it a jammy texture without the need for pectin.
How to Make Strawberry Chia Jam: Step By Step
Here are some quick visual instructions. The full instructions and ingredient list will be in the printable recipe card below!
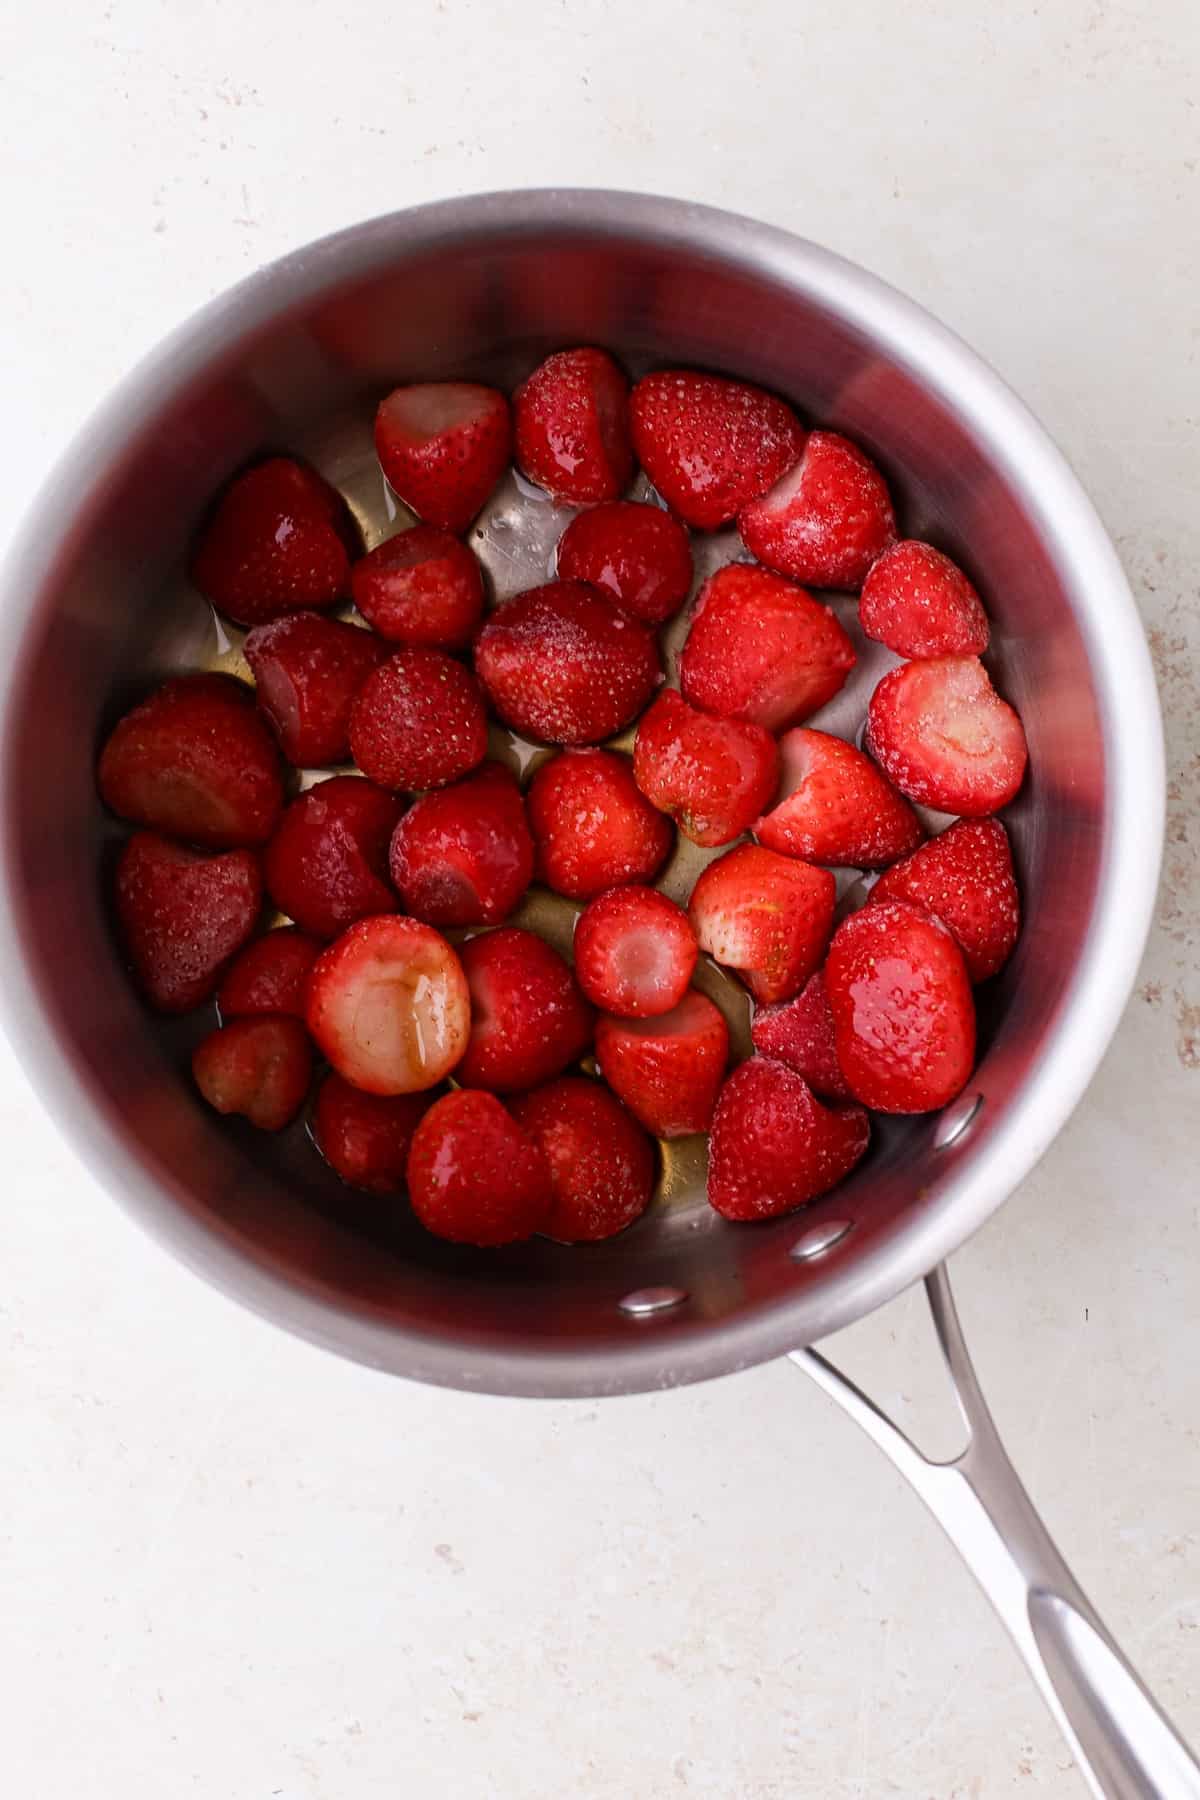

- Cook strawberries. Add strawberries, lemon juice, and maple syrup to a medium saucepan over medium heat. Cook, stirring occasionally, until the fruit starts to break down and release some of its juices.
- Mash. Mash the fruit with a fork or potato masher. Leave a few chunky pieces in for texture (optional).
- Add chia seeds. Stir in the two tablespoons of chia seeds until well distributed and remove from the heat.
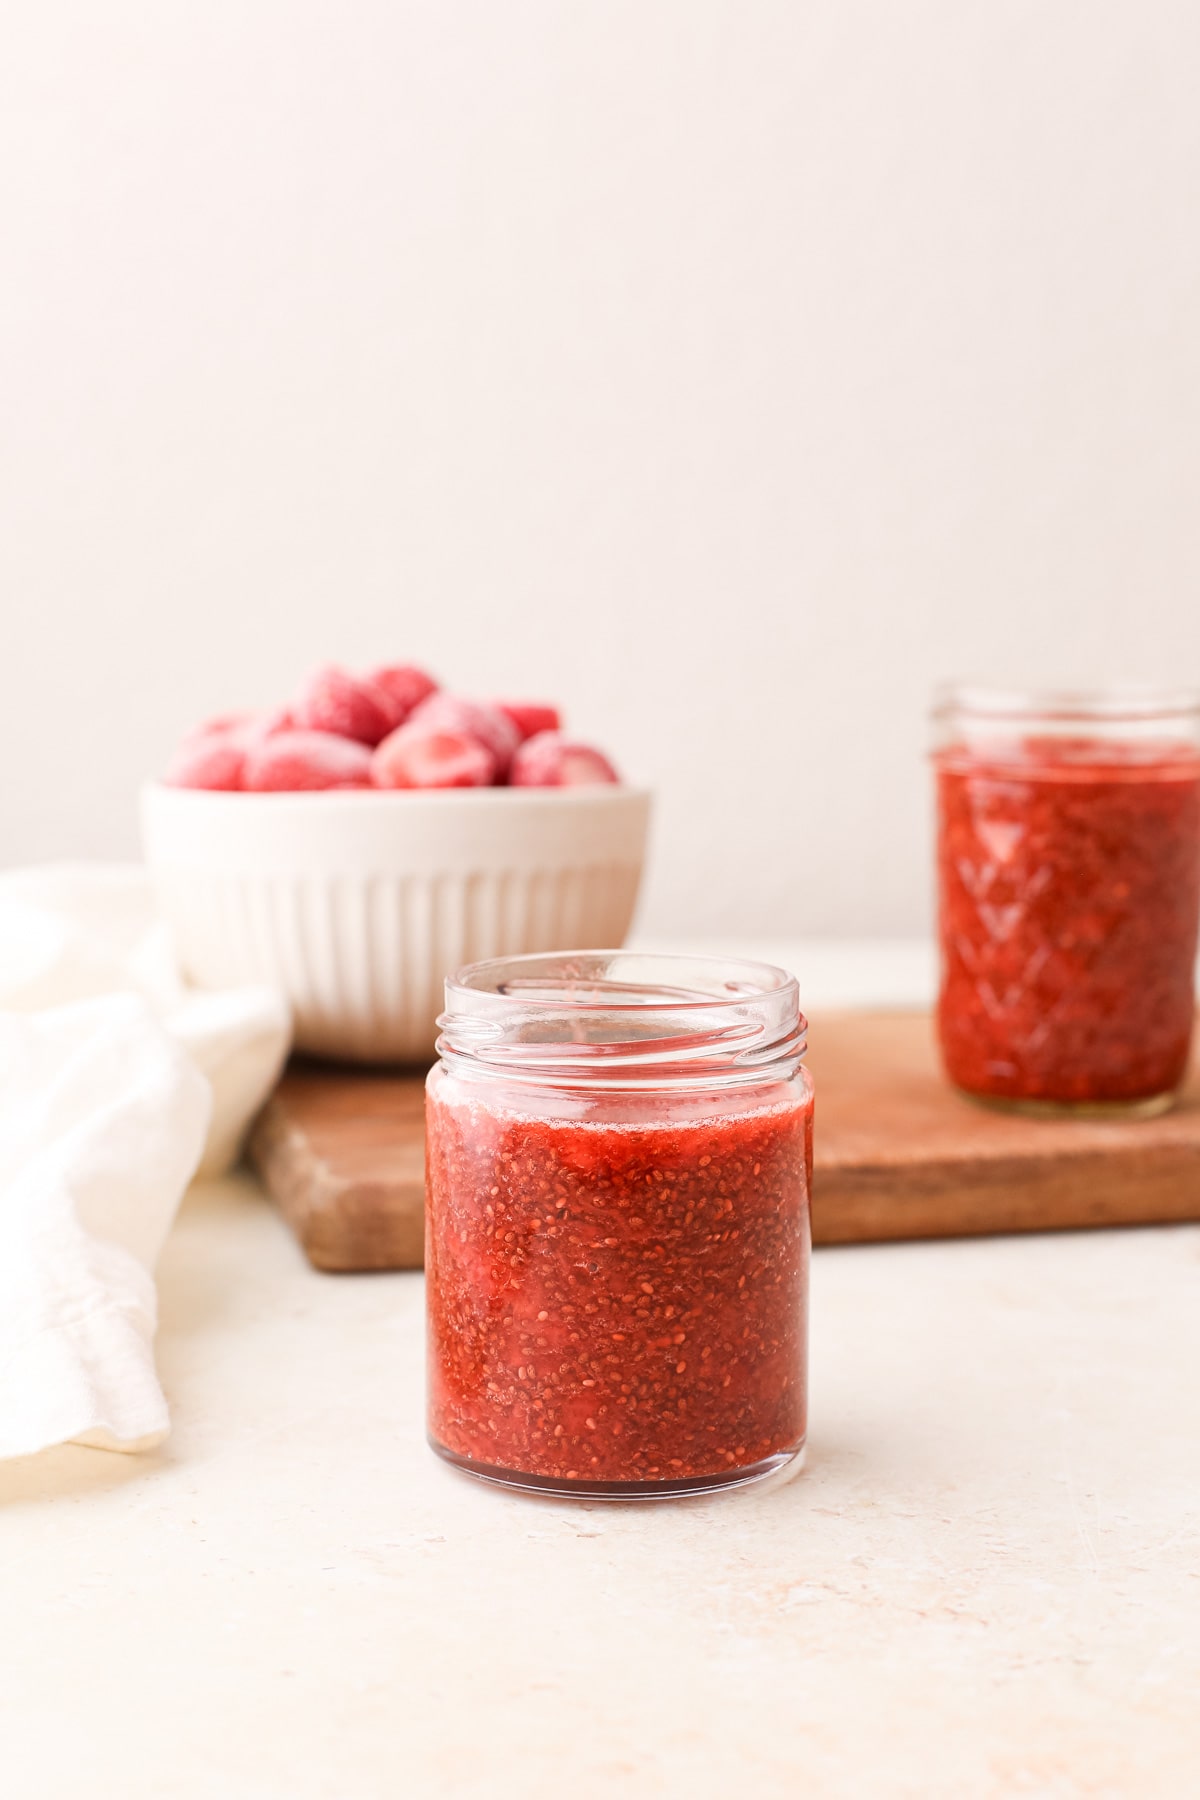
- Let cool. Transfer the jam mixture to an airtight container or mason jar and allow it to come to room temperature before you put the lid on. It’ll continue to thicken as it cools.
Helpful Tips
- Let chill for the best texture. You can use the jam after it’s cooled for 10-15 minutes, but it will have the best texture when given time to cool in the fridge for at least 30 minutes.
- Prefer a smoother jam? Blend the jam in a food processor or with an immersion blender after you’ve removed it from the heat.
- Prefer a sweeter jam? Increase the amount of sweetener.
Quick Tip: Avoid using a small saucepan. The more surface area the strawberries come in contact with, the quicker they’ll cook down.
Storage
Store in a tightly sealed container in the fridge for up to 2 weeks.
Make It Your Way: Substitutions & Variations
Please remember that recipes are just a starting point.
How can you make this strawberry chia seed jam recipe using what you already have? Here are some ideas…
- No maple syrup? – you can also use raw honey or coconut sugar.
- Make a mixed berry chia jam – berries work really well because of their high water content so you can add in other types such as raspberries, blackberries, or blueberries.
Serving Ideas
There are many ways to enjoy this berry chia jam. Here are a few ideas:
- Spread on a slice of toast or enjoy on top of crispy dairy free waffles.
- It’s the perfect topping for overnight oats, oat milk chia seed pudding, matcha chia pudding, or even vanilla ice cream.
- Make an elevated peanut butter and ‘jelly’ sandwich.
- Enjoy it on baked goods such as matcha scones or dairy free banana bread.
- In the summertime, you can add it to s’mores for a fun spin on the classic camping dessert.
- Add it to stuffed dates.
More Jam Recipes
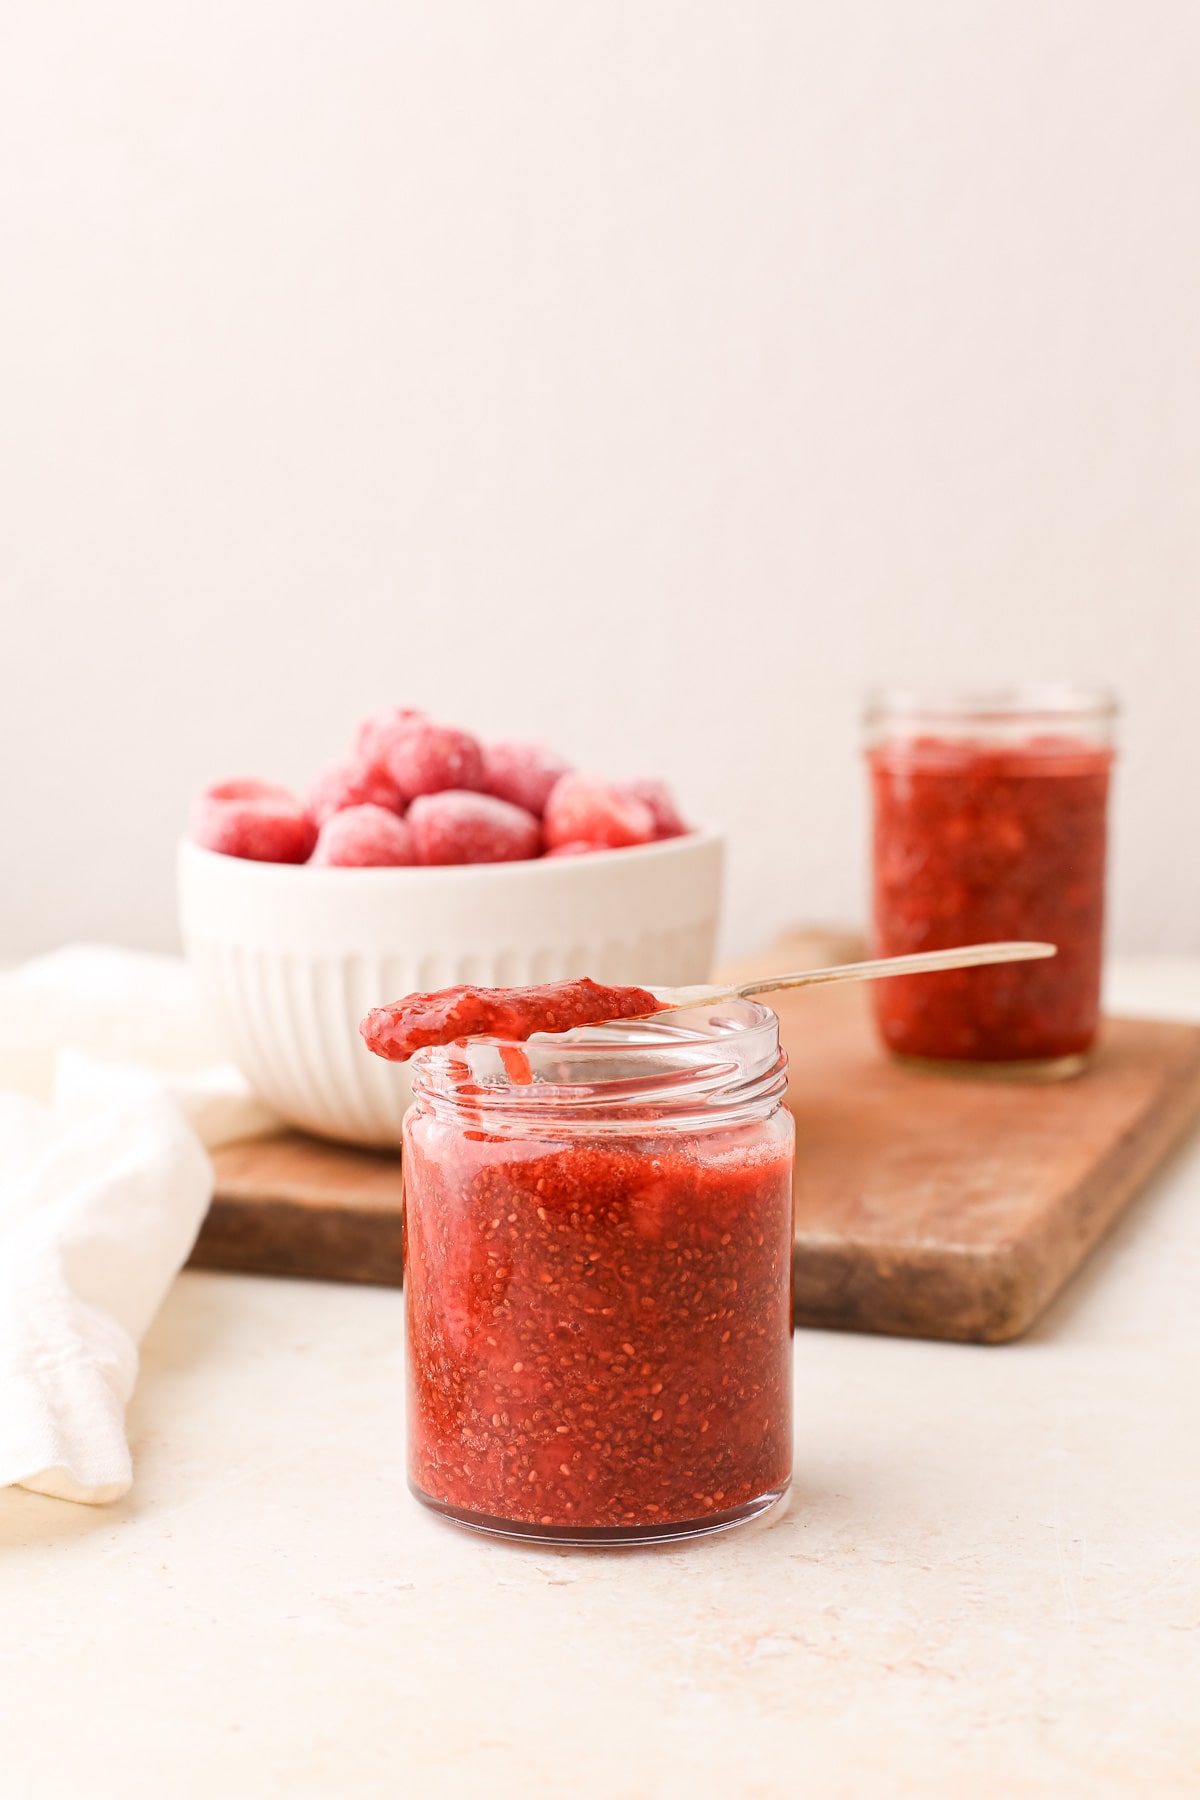
I hope you love this homemade Strawberry Chia Jam! If you make this recipe, please leave a comment & a star rating below. Thank you!
4 Ingredient Strawberry Chia Jam
Ingredients
- 2 cups fresh or frozen strawberries hulled, see notes below
- 1 tablespoon fresh lemon juice
- 1-2 tablespoons maple syrup
- 2 tablespoons chia seeds
Instructions
- Cook strawberries. Add strawberries, lemon juice, and maple syrup to a medium saucepan over medium heat. Cook, stirring occasionally, until the fruit starts to break down and release some of its juices.
- Mash. Mash the fruit with a fork or potato masher. Leave a few chunky pieces in for texture (optional).
- Add chia seeds. Stir in the two tablespoons of chia seeds until well distributed and remove from the heat.
- Let cool. Transfer the jam mixture to an airtight container or mason jar and allow it to come to room temperature before you put the lid on. It'll continue to thicken as it cools.